
Alsea Falls
Monroe, OR
Description
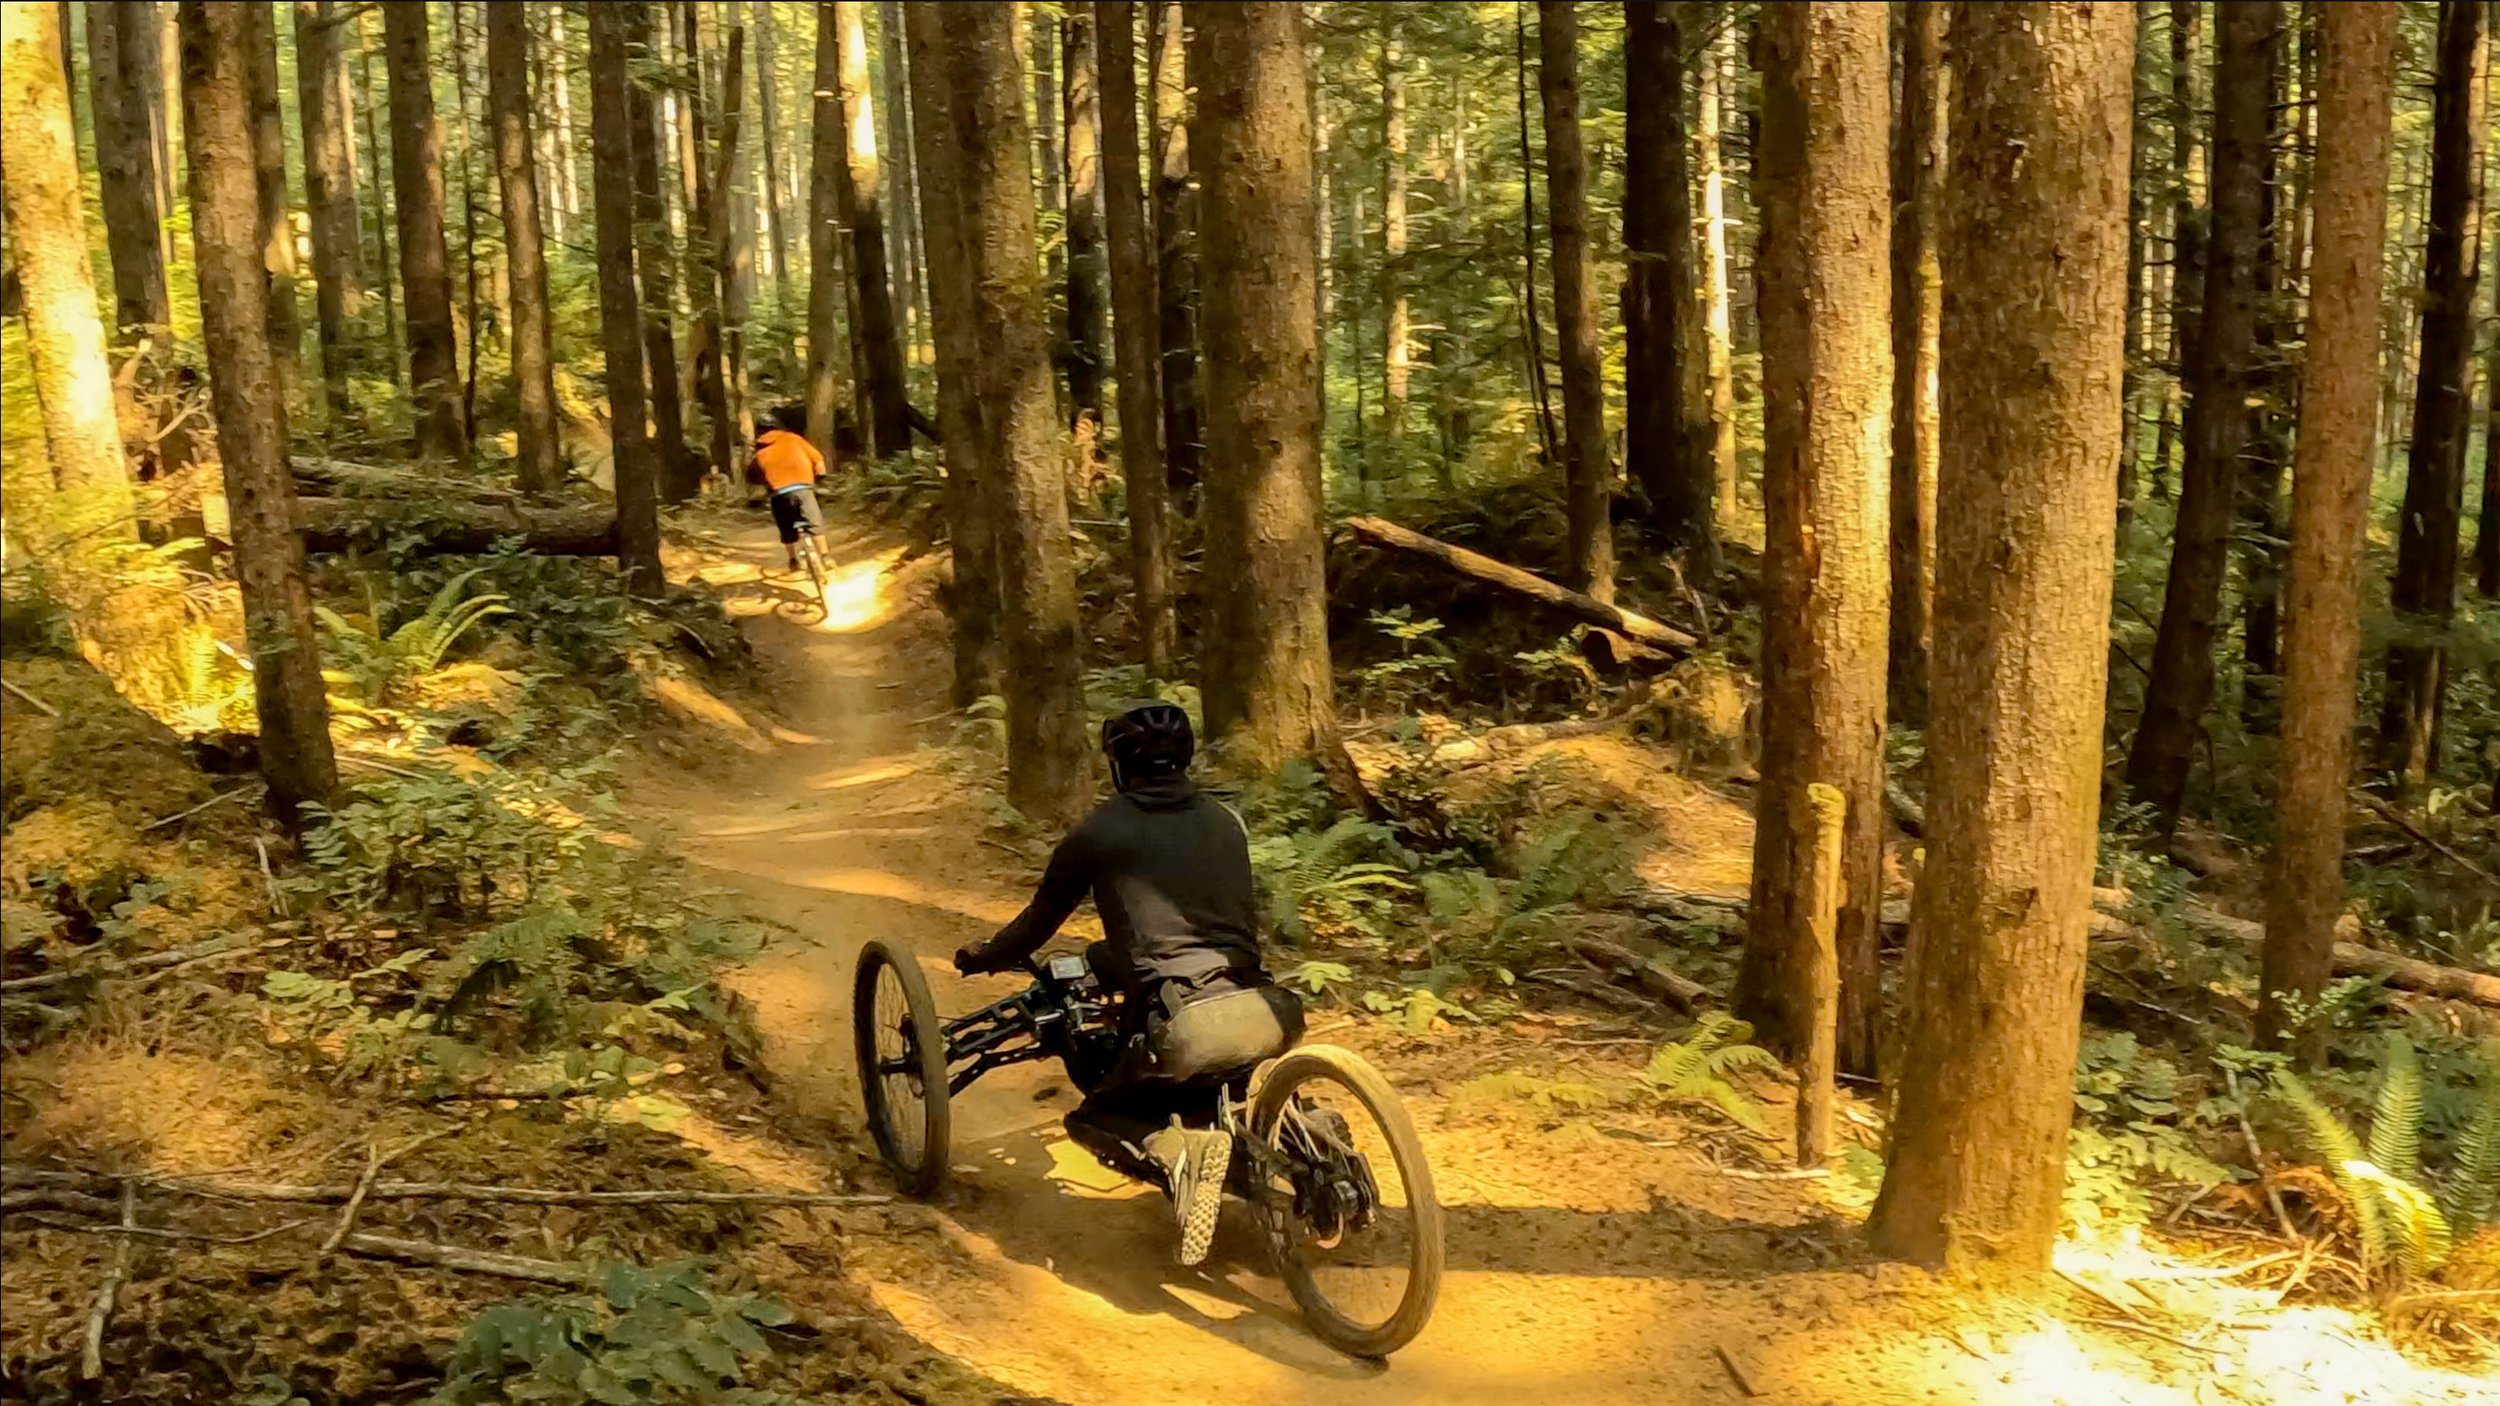
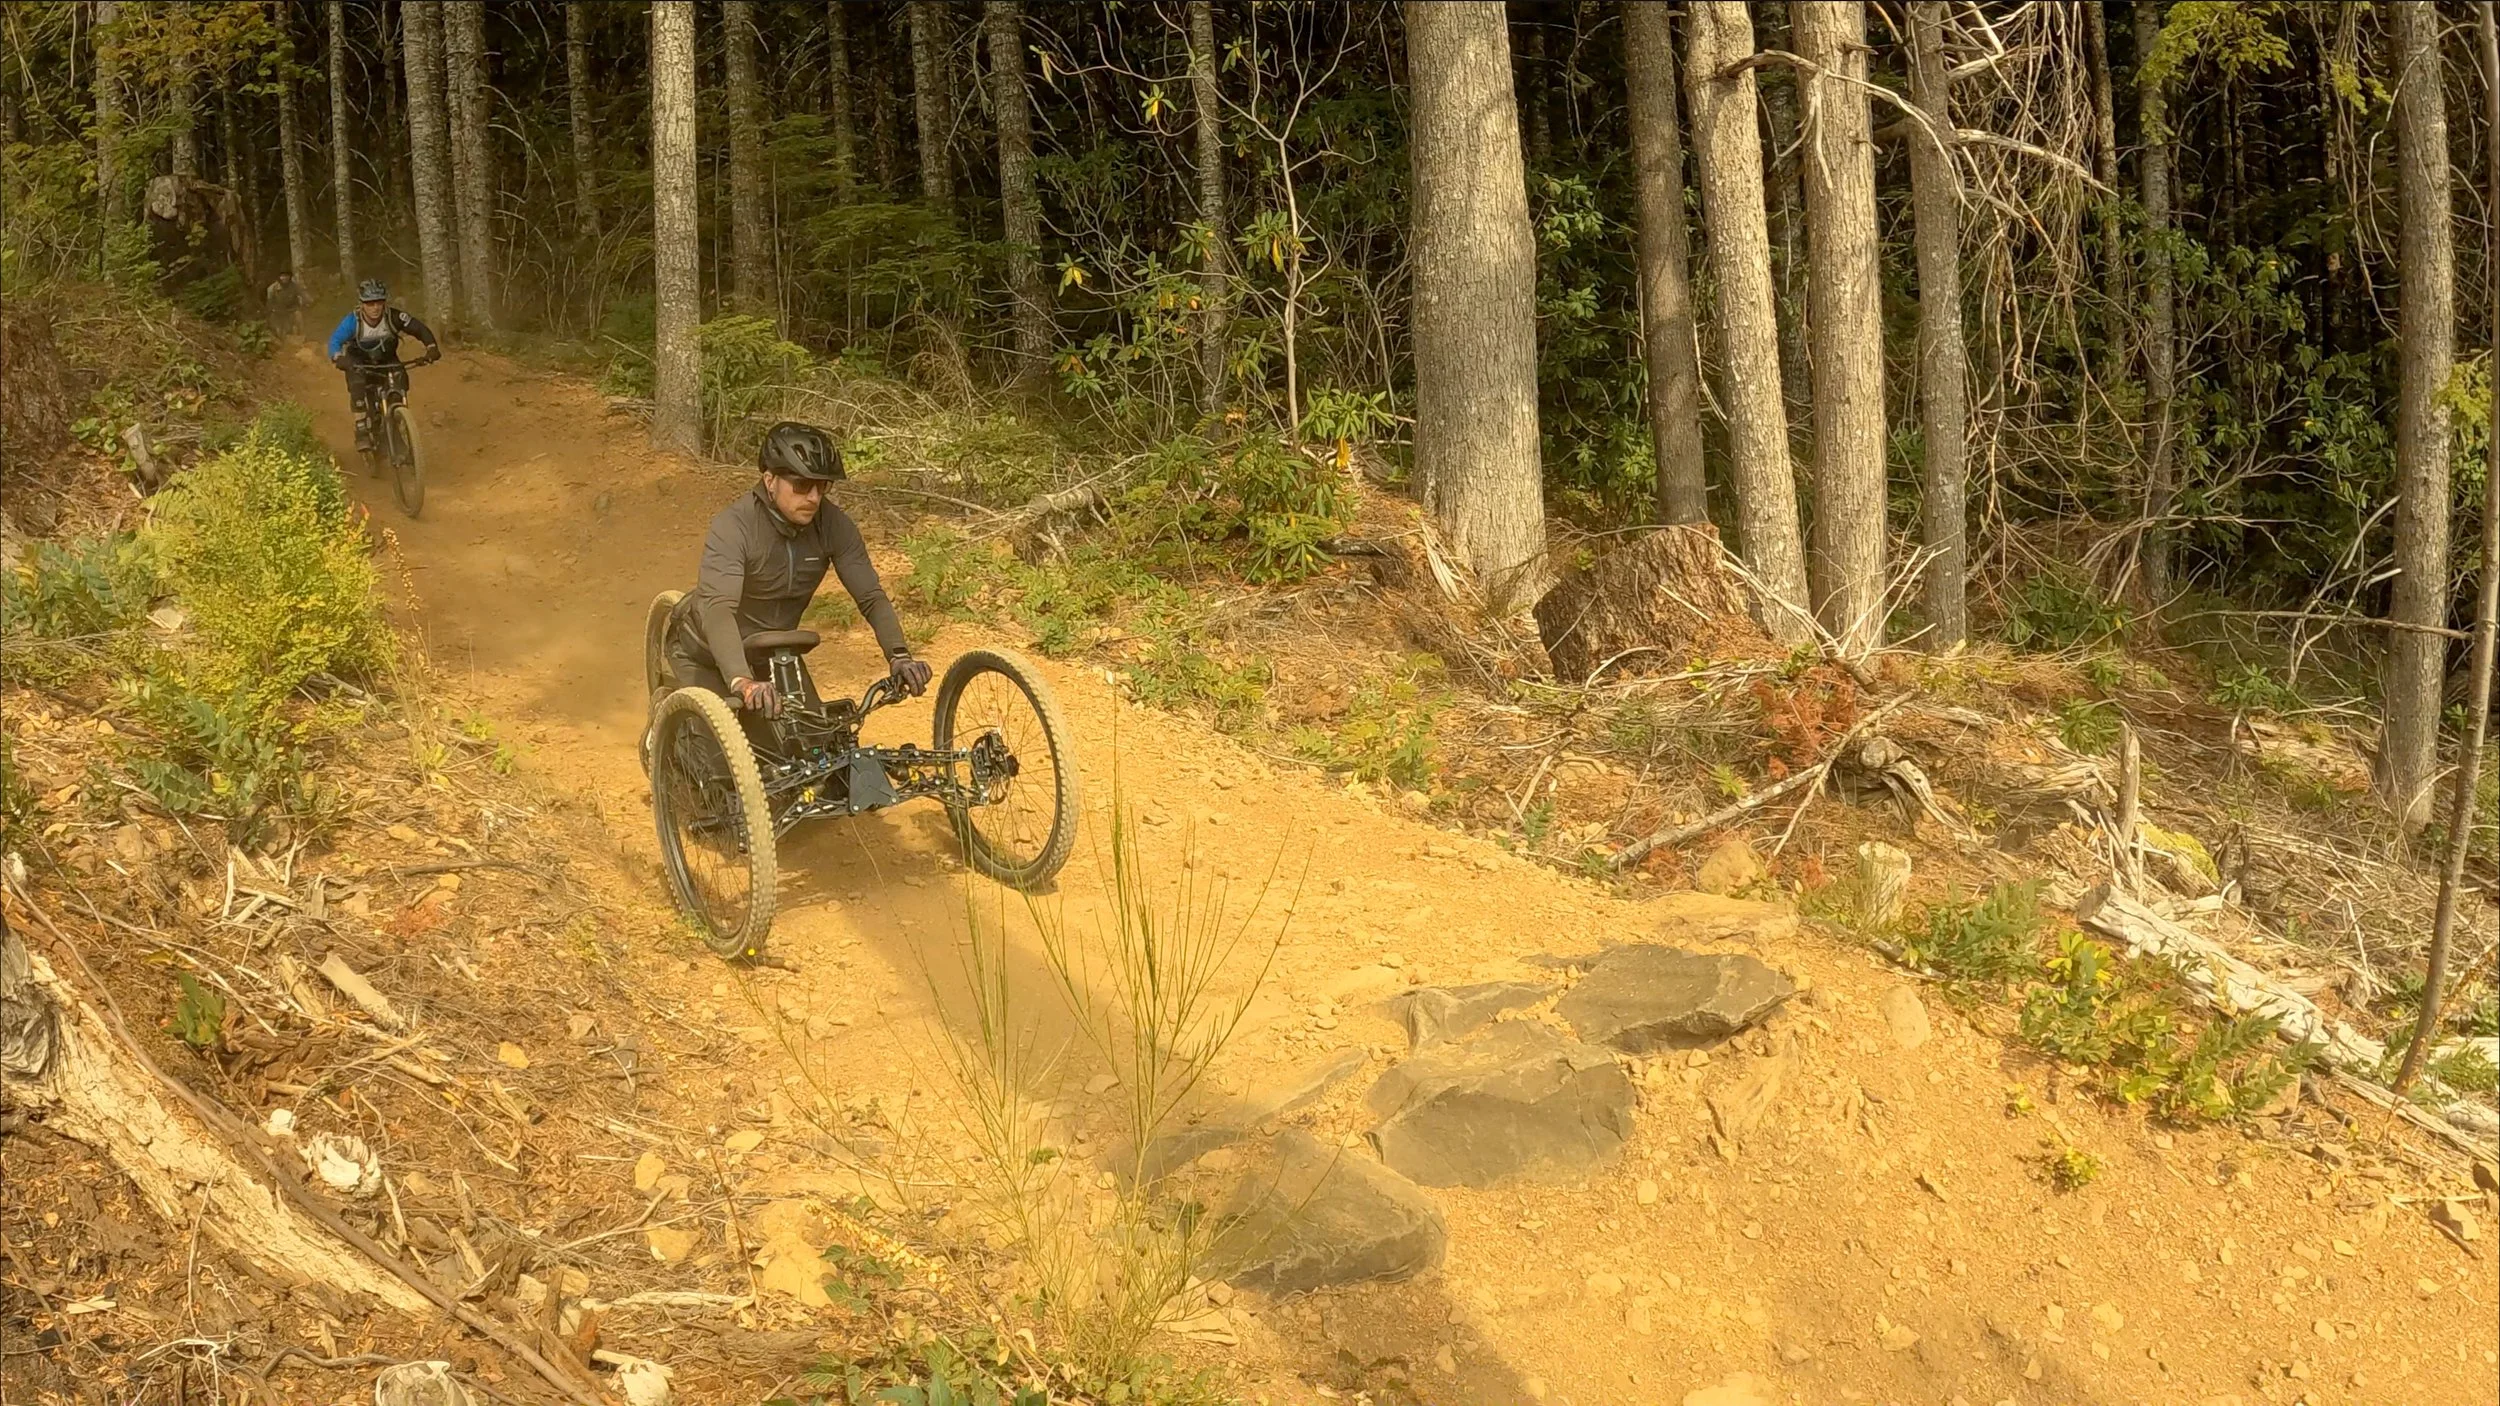
Getting to Alsea Falls is quite the endeavor, but let me tell you that it is well worth it. The trails are well built and crazy fun! This area is the epitome of what I like to do, climb the wide stuff and downhill the fun stuff. The climb is a brutal five mile fire road, which is very steep at the top, yes, but then the downhill is extremely long! The loop is ten miles in its entirety. I needed to rest between some of the downhill sections and during the last section, my arms and hands were toast. One or two full laps in a day is more than enough, with maybe a lower lap or two. A power assist is highly recommended. The main gravity line is mostly all good for the average adaptive rider and above, except for one short section that is easily bypass-able. See recommneded routes below. Suspension and clearance are highly recommended for the upper sections.
Staging
There are plans for a major expansion and overhaul of the staging area, but at the time of this blog, the parking lot is a gravel surface and not entirely flat, with a gradual slope down towards the main road. The bathroom is a primitive vault toilet. There is no designated accessible parking, so some strategery is needed to make sure no one parks blocking your door or ramp. Highly recommended to book a campsite across the street and stage from there.
There is a gate, but the ride around to the right is plenty wide. At the time of this blog, the exit to the parking lot at the bottom of the main gravity line is slightly narrow. See pic.

Trails
Alsea Falls Trail (aMTB1) - This is the pathway that goes through the campground. Completely all good. Watch for foot traffic.
Alsea River (not suitable for aMTB) - I attempted this trail and quickly turned around. It is narrow and exposed with the slope down to the river. Lots of downed trees, which have been cut, but not wide wide enough. I even got flipped over by one hidden in the overgrowth. Best to avoid.
Bailout (aMTB1) - This is mainly a climb trail and considered a technical XC experience. It is slightly narrow in a couple spots, but most adaptive riders should be fine. The problem is that the trail used to access it, Dutchman, requires assistance. Recommended to just climb the fire road.
Chutes and Boulders (aMTB2) - This is their double black jump line, but it’s more a single black in my opinion. Everything is rollable with suspension, clearance, and skid plate. I ride an Explorer with 27.5’s and was bottoming out. I couldn’t imagine riding this trail on a bike with less clearance. Skid plate came in handy. At the beginning of the trail, there is a significant amount of climbing before the fun begins.
Dutchman (aMTB3) - This is mainly a climb trail and considered a technical XC experience. It is do-able with help, but recommended to just climb the fire road. Updating the map has been recommended to management, but at the time of this blog, riding a short section of this trail is required to exit the main gravity line. That section of the trail, between the parking lot and Springboard is all good though. It’s past the intersection of Springboard where it becomes an issue.
Gutrobber (aMTB1) - I like this trail a lot, BUT for routing, it makes the climb WAY longer. It’s very fun to ride downhill, BUT since you’re almost to the top, might as well ride Misery Whip and Whistlepunk, which are much more exciting trails. Accessibility-wise, there are couple spots that could potentially require assistance for lower ability adaptive riders, but most should be all good.
Highballer (aMTB1) - This trail is broken into two sections, upper and lower. The upper section requires some climbing and is little more rooty, while the lower section is more flow with some deep berms. ALL of it is extremely fun. I needed to rest for a hot minute between sections. Most adaptive riders should be good. For routing, it is possible to skip the upper trails entirely and perform a lower lap from this trail down.
Lower Whistlepunk (aMTB3) - At the time of this blog, there is one tree gate on this trail requiring assistance, but its actually a very short section of trail easily bypass-able on the fire road. Is it worth it? If you have strong help, maybe for one time, but otherwise, I like to keep things rolling. For now, recommended to stick to the fire road.
Misery Whip (aMTB2) - Listed as a black, but is more of a blue flow trail, until it splits from the old alignment. After that, there are some small man-made rock sections with little drops that are extremely fun. It really should be split into two sections on the map, since each section is an entirely different experience. The second part, with the tech and drops, is probably my favorite section of trail in the entire area. You will need suspension and clearance. Lashers might bottom out.
Springboard (aMTB1) - Almost to the bottom! This is where my arms became fatigued. I was having so much fun, but could barely hang on. Highly recommend to rest before dropping in. This section is long. There is a little bit of climbing. As you descend, things become a little overgrown. The impact is there, but beware hidden roots. Most adaptive riders should be all good.
Whistlepunk (aMTB3) - The main gravity line, feeding into Whistlepunk from Misery Whip is all aMTB2, but since the old alignment is part of the trail on the map and has a couple major issues, the trail needs to be rated aMTB3 as a whole. I’ve recommend to management to split this on the map, but at the time of this blog, that’s how it is. There are some rooty tricky spots and equipment capability will be a factor. Suspension and clearance highly recommended.